Hub 02 · Sourdough Starter
How to dehydrate a sourdough starter
It costs nothing, takes ten minutes of work, and means the culture you spent weeks building cannot be lost. Temperature is the only way to get it wrong.
We earn a commission if you buy through our links, at no extra cost to you. We have not tested this equipment. Here is what we did instead.
Quick picks
Tap a row for the full write-up · Prices open on Amazon
| # | Product | Best for | Price |
|---|---|---|---|
| 01 | 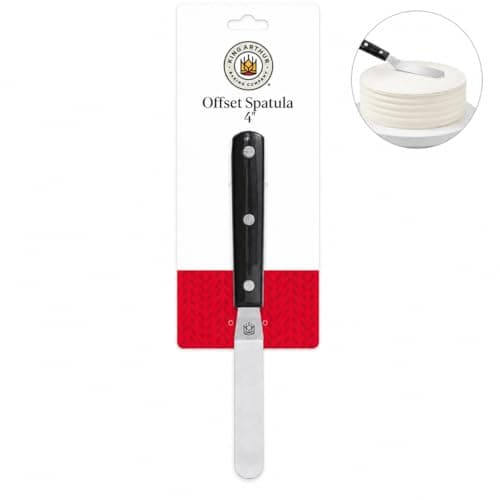 King Arthur Offset Spatula, 4-Inch Flexible Blade Thin is the whole technique, and a flexible offset blade is what gets a sticky starter down to a film instead of a puddle. | Spreading it thin enough to work | |
| 02 | 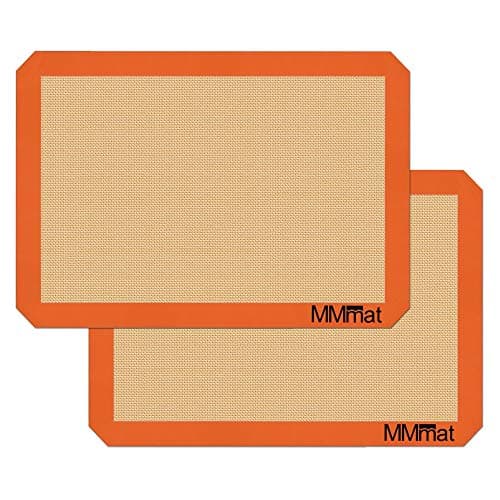 MMmat Silicone Baking Mat, Half Sheet, 2-Pack Dried starter releases from silicone in sheets, which is exactly what you want, and at 0.75 mm this is thicker than most mats so it does not curl at the edges as it sits. | A surface dried starter peels off | |
| 03 | 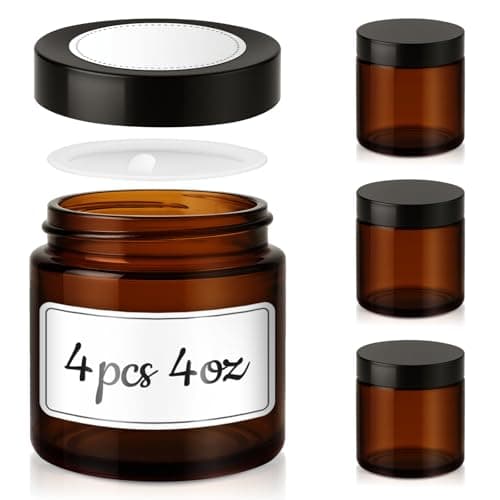 Tecohouse 4 oz Amber Glass Jars with Lids, 4-Pack Small, airtight and amber, which is the right combination for something you are putting away for a year. | Storing the flakes properly | $8.99 · View on Amazon
|
| 04 | 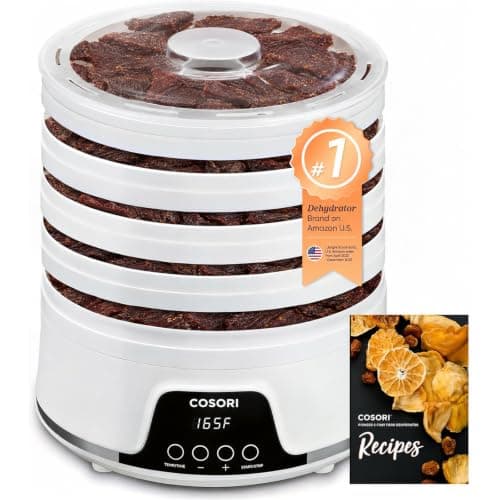 Cosori Food Dehydrator, 5 Trays, 95-165F Adjustable from 95F in one-degree steps, which matters here more than anywhere else: the bottom of the range is the only part of it you can safely use on a live culture. | Turning days into hours, carefully | |
| 05 | 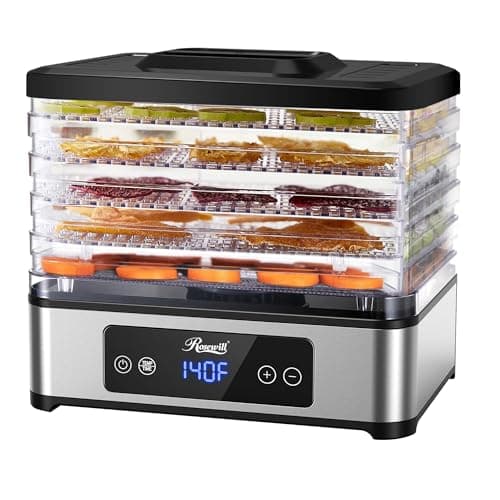 Rosewill Compact Food Dehydrator, 5 Trays, 95-158F The same 95F floor as the Cosori in a cheaper machine with a narrower top end, which is irrelevant for this job because you will never go near the top end. | The same low setting for less |
#ad · We earn a commission on Amazon purchases. Prices come from Amazon and change.
A dried starter is a backup. You spread a thin layer of active starter out, let it dry to a brittle sheet, break it into flakes and put it in a jar. Months or years later you add water and flour and the culture wakes up.
It is the single most useful thing you can do with fifteen minutes and a piece of parchment, because it is the only thing that makes a starter genuinely unloseable. Fridge accidents, a fortnight away, a house move, someone helpfully cleaning out the fridge — none of them matter if there is a jar of flakes in a cupboard.
Temperature is the only real risk
A starter is a live culture, and heat kills it. Dry it warm enough and you will end up with a jar of flour flakes that never wakes up — and you will not find out until the day you need it, which is the worst possible time to discover a backup failed.
Room temperature air drying carries no risk at all, which is why it is the method we would use. It simply takes one to three days depending on how thin you spread it and how humid your kitchen is.
If you want it faster, a dehydrator is the controlled option — but note what its dial actually offers. Both machines on this page bottom out at 95°F, and that is the only part of their range you can use here. The bottom of the dial is not a starting point to adjust upward from; it is the ceiling for this job.
What we will not do is give you a maximum survivable temperature, because we have not tested one and the honest answer varies with time and thickness. Stay at the low end, or stay at room temperature and be patient.
Thin is the other thing that matters
The layer wants to be as thin as you can spread it — a film, not a smear. Two reasons. A thin layer dries evenly and completely, and a thick patch stays tacky in the middle long after the edges are brittle. Tacky means moisture, and moisture in a sealed jar is how a backup grows mold instead of waiting quietly.
It also breaks up properly. A thin sheet shatters into flakes that rehydrate fast and evenly. A thick one breaks into chunks with damp centers that take days to come back.
The method
- Use an active starter, at peak. Feed it and wait until it is risen and bubbly. You are preserving the culture at its strongest, not scraping the discard jar.
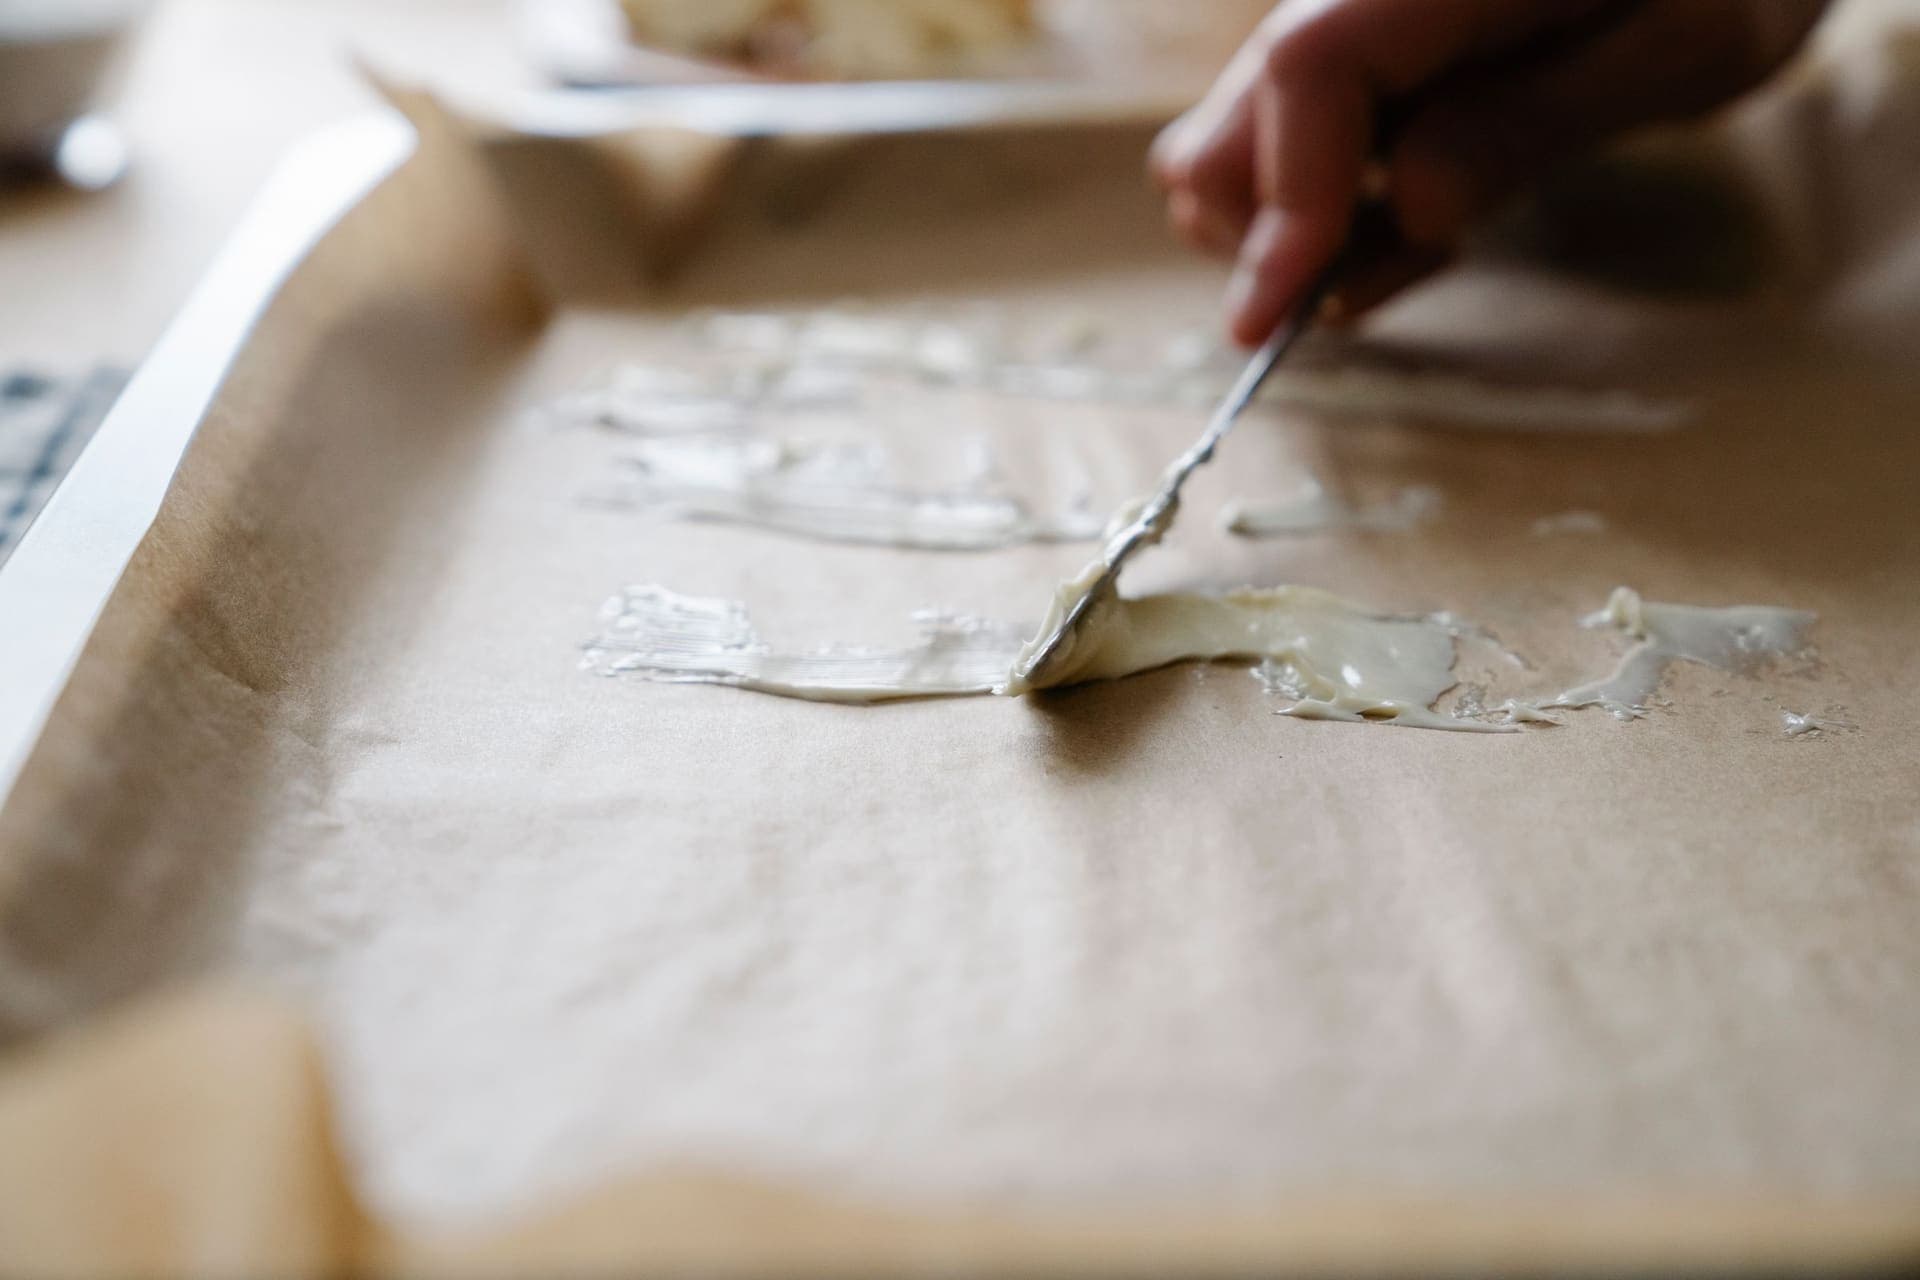
- Spread it thin. Onto parchment or a silicone mat, as thin as you can get it. An offset spatula makes this genuinely easier than a spoon.
- Let it dry until brittle. Room temperature, uncovered, out of direct sun, one to three days. It is ready when it snaps rather than bends and there is no tacky patch anywhere.
- Break it up. Flakes are fine; powder is fine too. Whatever is easiest.
- Store it airtight, cool and dark. A small jar that the flakes nearly fill, so there is little trapped air. Label it with the date.
- Split the batch. Keep one jar in the kitchen and one somewhere else entirely. A backup in the same cupboard as the disaster is not a backup.
How long it keeps, and how to wake it up
Dried properly and stored airtight in a cool dark place, flakes keep for a very long time — this is the same principle behind the dried starters you can buy, which ship and sit on shelves before anyone rehydrates them.
To revive: crumble a spoonful into a clean jar, add an equal weight of room-temperature water, and leave it for several hours until it softens into a slurry. Then feed it flour and water as you would any starter and keep feeding on your normal schedule. Expect it to be slow for the first several days and to smell odd before it smells right. That is normal and it is not a failure.
If it is still sluggish after a week, the problem is usually temperature rather than the culture — keeping a starter warm covers that, and why a starter is not rising covers the rest.
Drying against the other ways to pause a starter
| Method | How long it holds | Effort to restart |
|---|---|---|
| Fridge, fed occasionally | Weeks to a few months | A couple of feeds |
| Dried flakes | Very long term | Several days of feeding |
| Frozen starter | Long term, but freezer-dependent | A few days; results vary |
| Left on the counter unfed | Days | Often a rescue job |
These are not alternatives so much as different timescales. The fridge is how you pause a starter you are still using — that is covered in feeding and storing. Drying is the archive copy you make once and hope never to need.
How we judged what is on this page
- Does it beat the free version? Parchment and a jar work. Anything here has to be meaningfully better, not just nicer.
- Does it help you spread thin? That is the step people get wrong, and the cheapest tool on this page is the one that addresses it.
- Does it reach 95°F and stop? For a dehydrator this is the only spec that matters. A machine that starts at 105°F is the wrong machine.
- Is the storage genuinely airtight, small and dark? Big clear jars half full of air are the wrong shape for a decade-long backup.
- Will it earn its cupboard space? Most people dry a starter once or twice ever. An appliance bought for that is a hard sell and we say so.
The short version
Feed your starter, wait for peak, spread it as thin as you physically can on parchment, and leave it on the counter until it snaps. Break it up, put it in a small airtight jar with the date on it, and put a second jar somewhere else. That is the entire process, it costs nothing, and it is the difference between losing a culture and being mildly inconvenienced.
Every pick, in order
The full write-ups
Pick 01 · Spreading it thin enough to work
King Arthur Offset Spatula, 4-Inch Flexible Blade
King Arthur
Thin is the whole technique, and a flexible offset blade is what gets a sticky starter down to a film instead of a puddle. It is the cheapest thing on this page and the one that most changes whether the drying works on the first try.
Blade
4-inch flexible Japanese stainless steel
Overall
8.5 x 0.71 x 0.79 inches
Handle
Offset contoured; BPA-free, PFAS-free plastic
Care
Dishwasher safe, per the manufacturer
Specs compiled from: Manufacturer product listing and product name
What is good
- The offset keeps your knuckles off the mat, which is why the layer comes out even
- Flexible enough to feather a sticky starter out to a genuinely thin film
- Useful far beyond this job, which a dehydrator is not
What is not
- Four inches is small for a full half-sheet; it takes a few passes
- A silicone spatula or the back of a spoon does the same job slower and worse
- Sold as a cake decorating tool, so nothing about it is sourdough-specific
#ad Disclosure · Price as of October 17, 2026
Pick 02 · A surface dried starter peels off
MMmat Silicone Baking Mat, Half Sheet, 2-Pack
MMMAT
Dried starter releases from silicone in sheets, which is exactly what you want, and at 0.75 mm this is thicker than most mats so it does not curl at the edges as it sits. Parchment does the same job for pennies; this is the reusable version.
Size
11.6 x 16.5 inches, fits a half-sheet pan
Thickness
0.75 mm, per the manufacturer
Temperature
Heat resistant to 500F; oven and freezer safe, per the listing
Quantity
2 mats; dishwasher safe
Specs compiled from: Manufacturer product listing and product name
What is good
- Dried starter lifts off silicone cleanly rather than tearing the way it can off paper
- Thicker than most mats, so it lies flat instead of curling
- Two mats means you can dry a large batch in one go
What is not
- Parchment costs a fraction and works, which makes this a convenience purchase
- The listing says the silicone raw material is German but the mat is not made in Germany
- Silicone picks up odors over time, and a mat used for garlic bread is not one you want here
#ad Disclosure · Price as of October 17, 2026
Pick 03 · Storing the flakes properly
Tecohouse 4 oz Amber Glass Jars with Lids, 4-Pack
Tecohouse
Small, airtight and amber, which is the right combination for something you are putting away for a year. Amber glass limits light reaching the contents, and four ounces is the size that holds a dried batch without leaving a jar half full of air.
Capacity
4 oz each, 4 jars
Glass
Amber, to limit light reaching the contents
Lids
Airtight screw tops with sealing liners
Size
2.3 x 2.3 x 2.56 inches each
Specs compiled from: Manufacturer product listing and product name
What is good
- Amber glass keeps light off a culture you may not open for a year
- Small enough that the jar is full, which means less trapped air
- Four jars lets you split a batch and keep one somewhere else entirely
What is not
- Marketed for cosmetics and spices, so nothing about it is aimed at bakers
- Screw liners are the part that perishes; check the seal before long storage
- Any clean jar with a good lid does this job, and you probably own one
Pick 04 · Turning days into hours, carefully
Cosori Food Dehydrator, 5 Trays, 95-165F
Cosori
Adjustable from 95F in one-degree steps, which matters here more than anywhere else: the bottom of the range is the only part of it you can safely use on a live culture. It turns a two-day air-dry into an afternoon, and it is entirely optional.
Temperature range
95F to 165F, adjustable in 1F increments
Trays
5 BPA-free trays, expandable to 7 per the manufacturer
Timer
Up to 48 hours
Noise
Under 47 dB, per the manufacturer
Specs compiled from: Manufacturer product listing and product name
What is good
- One-degree control means you can sit at the very bottom of the range and stay there
- The lowest setting on the dial is the setting this job needs, so there is no guesswork
- Quiet enough to run overnight on a counter
What is not
- Costs many times the rest of this page combined, for a job a countertop does free
- Even 95F is warm for a live culture -- this is the floor, not a target to exceed
- A large appliance to store for something most bakers do once or twice a year
#ad Disclosure · Price as of October 17, 2026
Pick 05 · The same low setting for less
Rosewill Compact Food Dehydrator, 5 Trays, 95-158F
Rosewill
The same 95F floor as the Cosori in a cheaper machine with a narrower top end, which is irrelevant for this job because you will never go near the top end. If you have decided you want a dehydrator, the lower ceiling costs you nothing here.
Temperature range
95F to 158F
Trays
5 adjustable BPA-free trays, 0.8 inch standard spacing
Timer
0.5 to 48 hours
Power
400 W with 360-degree air circulation, per the listing
Specs compiled from: Manufacturer product listing and product name
What is good
- Hits the same 95F floor that is the only setting relevant to drying a starter
- Cheapest route to controlled low-temperature drying
- Adjustable tray spacing, so a tray of thin sheets is not wasted space
What is not
- Coarser temperature control than the one-degree steps of the Cosori
- Still a countertop appliance bought for an occasional task
- 158F ceiling makes it less useful if you later want it for jerky
#ad Disclosure · Price as of October 17, 2026
How we picked
We have not tested any of this equipment. What we did instead: compiled the published specifications from each manufacturer’s own listing, checked them against the task a beginner is actually trying to do, read the care instructions, and named the thing we would skip. Where a pick is a product type rather than a brand, it is because the category is sold mostly unbranded and the type is the real decision.
Frequently asked
Questions
+How do you dehydrate a sourdough starter?
Feed it, wait until it is active and at peak, then spread it in the thinnest possible layer on parchment or a silicone mat. Leave it at room temperature for one to three days until it snaps rather than bends, break it into flakes, and store it in a small airtight jar somewhere cool and dark.
+What temperature should you dry a sourdough starter at?
Room temperature is safest and carries no risk to the culture. If you use a dehydrator, use its lowest setting — typically 95°F on consumer machines — and do not go above it. Heat is the one thing that will kill a starter during drying.
+How long does dried sourdough starter last?
Dried thoroughly and stored airtight somewhere cool and dark, a very long time — it is the same principle as the dried starters sold commercially, which ship and sit on shelves before anyone rehydrates them. The risk is not age, it is moisture left in flakes that were not dried fully.
+How do you revive a dried sourdough starter?
Crumble a spoonful into a clean jar, add an equal weight of room-temperature water and let it soften for several hours. Then feed flour and water on your normal schedule. Expect it to be slow for the first several days and to smell odd before it smells right; both are normal.
+Can you use discard to make a dried starter backup?
You can, but do not. A backup is worth making from the strongest version of your culture, which means an active starter at peak rather than the discard jar. The difference costs you one feed.
+Is drying better than freezing a sourdough starter?
Drying is the more reliable archive because dried flakes do not depend on a freezer staying on. Freezing works and is quicker to set up. If you want one backup that survives anything, dry it.
+Do I need a dehydrator to dry a sourdough starter?
No. Parchment paper on a countertop does it in one to three days for nothing. A dehydrator on its lowest setting turns that into an afternoon, which is convenience rather than necessity — and it introduces a heat risk that air drying does not have.
Read next