Hub 05 · Kombucha, Kefir & Yogurt
How to make milk kefir
It is the least demanding ferment on this site: put grains in milk, cover the jar, wait a day, strain. There is no machine and no schedule beyond that.
We earn a commission if you buy through our links, at no extra cost to you. We have not tested this equipment. Here is what we did instead.
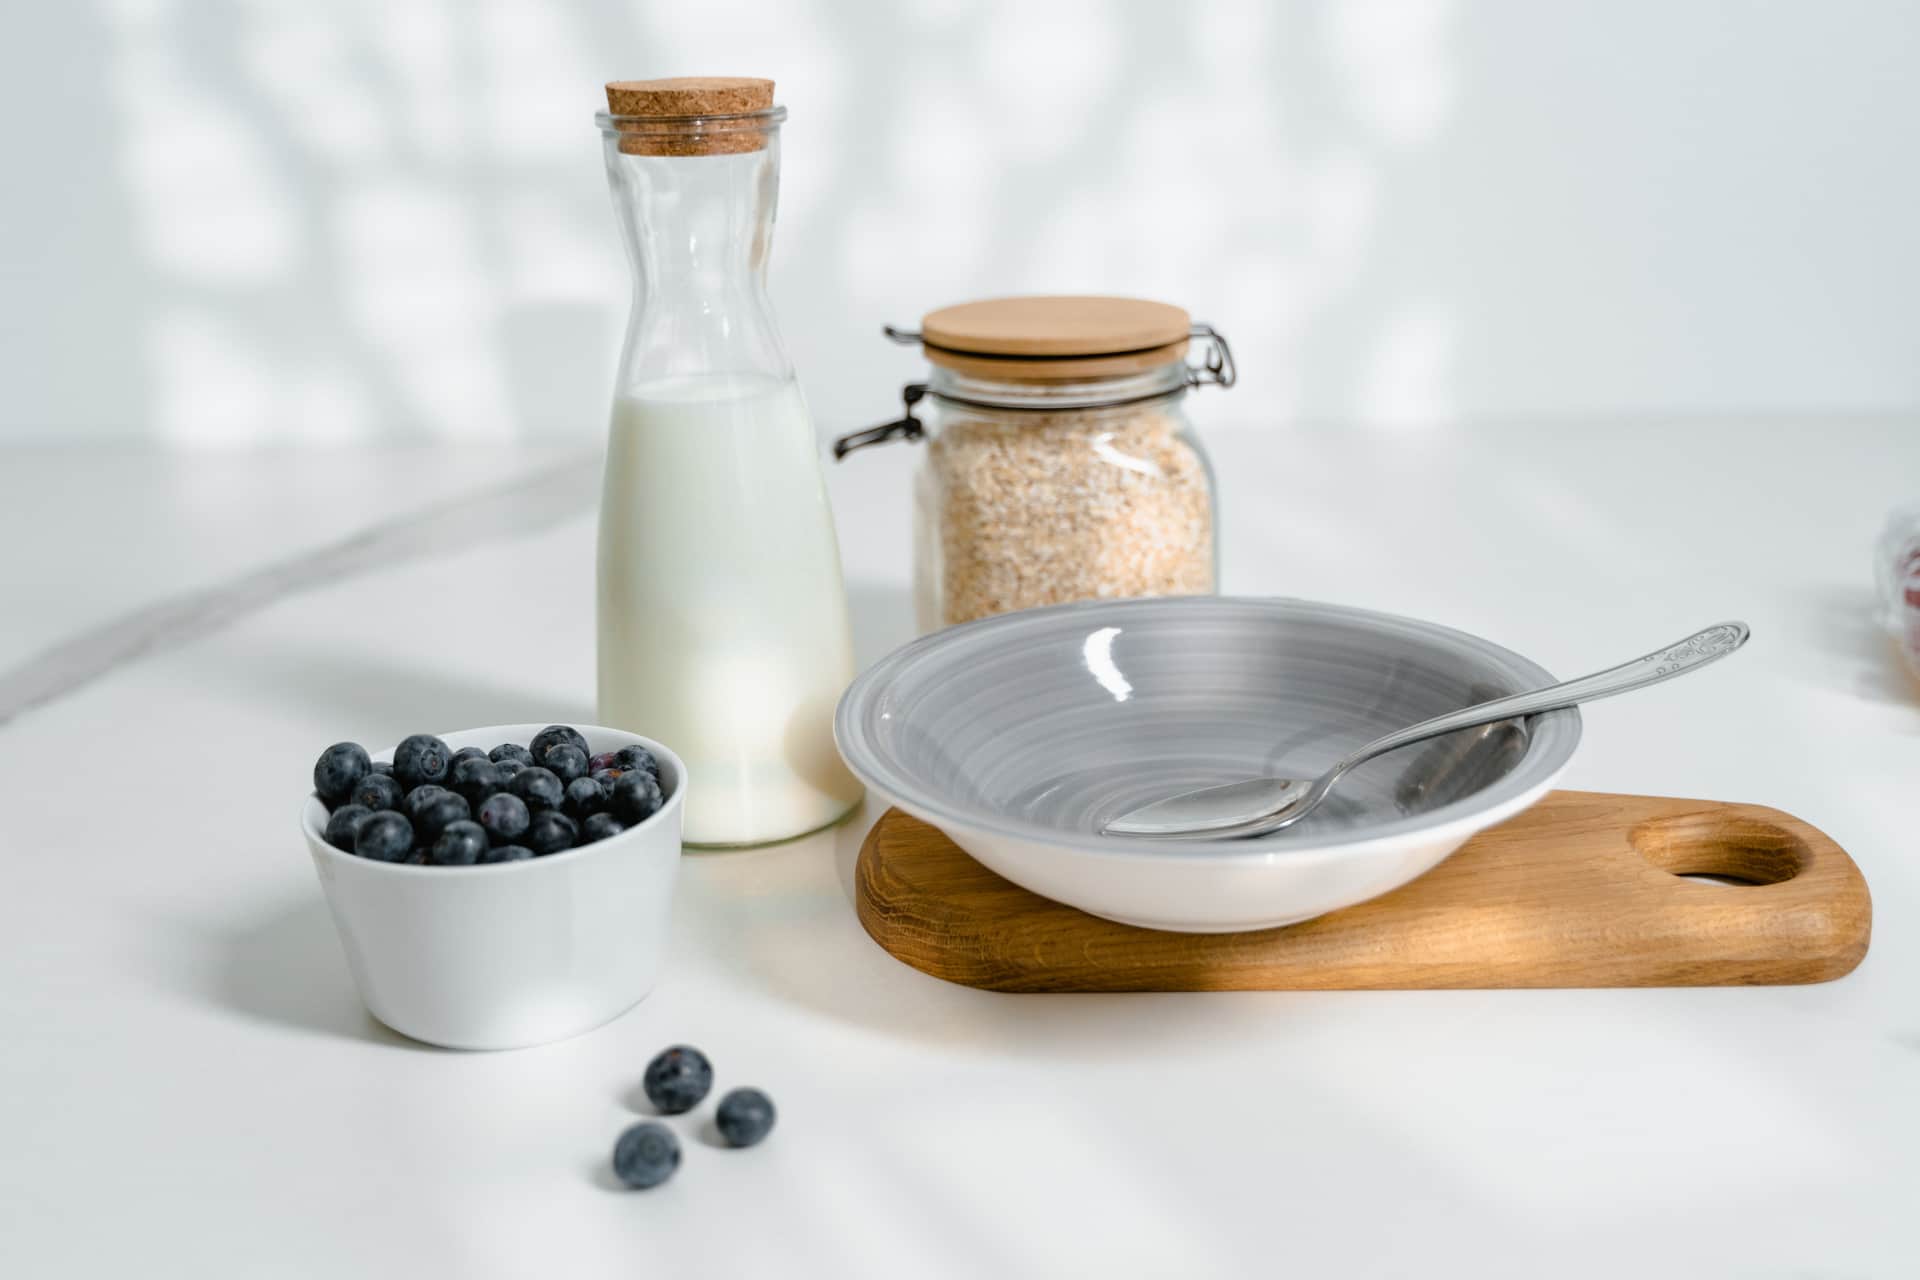
Put kefir grains in a jar of pasteurized whole milk, cover it with a cloth, leave it at room temperature for about a day, then strain the grains out and put them into fresh milk. That is the complete method. Everything below is detail about doing it well and knowing when it is done.
What you need
- Milk kefir grains. A live culture, bought once. Which kind to buy is the subject of best kefir starter kits.
- Pasteurized whole milk. Not ultra-pasteurized. This is the single commonest reason a first batch fails to thicken.
- A glass jar. A wide-mouth quart mason jar is ideal, and it is the same jar the rest of this site keeps recommending for everything else.
- A non-metal strainer. Plastic or nylon. Brief contact with stainless is not the disaster the internet claims, but a cheap plastic strainer removes the question entirely.
- A cloth and a band, or a loose lid. Kefir vents; it is not an airlock ferment.
How much culture to how much milk
Follow the ratio that came with your grains — it is the one figure that varies between suppliers, and the packet is the authority for the culture in your hand. What matters more than precision is consistency: change one thing at a time between batches, or you will not know what caused a change in the result.
Grains grow. When a batch starts finishing noticeably faster than it used to, you have more culture than milk, and the fix is either more milk or fewer grains in the jar.
Knowing when it is done
Three signals, in order of reliability:
- It thickens. Tilt the jar. Finished kefir moves as a body rather than sloshing like milk.
- It smells tart. Clean and sour, like yogurt. Not cheesy, not yeasty.
- Whey separates. Clear yellowish pockets at the edge or the bottom mean it is ready or slightly past. This is not spoilage; it is the signal you slightly over-fermented, which is easily fixed by straining earlier next time.
A batch left much longer than it wants gets sharply sour and separates fully. It is still edible; it is just not what you wanted. Shorten the next one.
After straining
The finished kefir goes in the refrigerator and keeps for several days, getting slightly more sour as it sits. The grains go straight into fresh milk; they do not need washing, and rinsing them in tap water is a common way to weaken a culture.
If you want a break, put the grains in a jar of fresh milk in the refrigerator. Cold slows them dramatically, and they will be ready to resume when you are.
What healthy grains look like
Milk kefir grains are irregular white clusters, somewhere between cauliflower florets and soft curd in appearance, and slightly rubbery to the touch. They should smell of cultured milk and nothing else.
Two changes are worth noticing. Grains that stop growing over several weeks are usually being fed too little milk or kept too cold. Grains that turn slimy and stringy, so the kefir pours like egg white, have usually been left sitting in an exhausted batch too long — several short, well-fed batches normally recover them, and if they do not, it is time for fresh grains.
Growth is the honest signal. A colony that visibly increases every few weeks is working, and it is also the point at which you can start giving half of it away.
Pausing for longer than a week
For a break of a few weeks, use more milk than usual and keep the jar in the refrigerator, changing the milk when you remember. The grains slow down rather than starve.
For longer than that, grains can be dried or frozen, both of which cost you some vigor and a few batches of recovery afterwards. Neither is a decision to make casually: a colony that has been running well is worth more than the milk it takes to keep it going.
A second ferment, if you want fizz
Strained kefir left at room temperature in a covered bottle for several hours develops a little carbonation and a milder flavor. Fruit or a strip of citrus peel added at this stage flavors it. Use a bottle you can open safely and do not leave it indefinitely — this is the same pressure caution that applies to bottling kombucha, covered in first-batch troubleshooting.
What goes wrong
- It never thickens. Almost always the milk. Check for ultra-pasteurized on the carton before you change anything else.
- It separates within hours. Too many grains for the amount of milk, or a very warm room. Add milk or remove grains.
- It smells yeasty. Usually over-fermentation. Strain sooner.
- Fuzzy growth on the surface. That is mold, not kefir, and the batch and grains go in the bin. It is rare in milk kefir and usually follows a long neglected batch.
Frequently asked
Questions
+How long does milk kefir take to ferment?
Roughly 12 to 24 hours at ordinary room temperature, following the time given with your grains. Warmer kitchens finish faster. Judge by thickness and smell rather than by the clock.
+Can kefir grains touch metal?
Brief contact with stainless steel while straining is not the problem it is often described as, but reactive metals and long contact should be avoided. A plastic or nylon strainer removes the question for a couple of dollars.
+Do I need to rinse kefir grains between batches?
No. Strain them and put them straight into fresh milk. Rinsing in tap water is a common way to weaken a culture and there is no benefit to offset it.
+Can I pause making kefir?
Yes. Put the grains in fresh milk in the refrigerator; the cold slows them down for days at a time. Give them a batch or two at room temperature to get back to full speed afterwards.
Sources
Where the facts on this page came from
Read next